When you imagine the ultimate hot tub setup, spa steps might not be the first thing on your mind. Usually, we think about hot tub covers, cover lifters, filters, and spa chemicals. But, if you’ve ever tried getting into a hot tub without steps, you’ll quickly realize that they’re not just an “optional” thing with most spas.
Now, if you’ve got an above-ground hot tub, getting some sturdy, non-slip hot tub steps can save you from those awkward acrobatics. They give you a safe and easy way to hop in and out.
And, it’s not just about practicality – spa steps add to the overall look of your outdoor space. With loads of styles and materials to choose from, you can make them blend right in with your hot tub surroundings. So whether you’re feeling that rustic vibe or you’re more into modern sleekness, a hot tub step can match your style perfectly.
This leaves you with two options:
- buy some ready-made hottub steps or
- get your hands dirty and create your own steps for hot tub.
Let’s step right into option two:
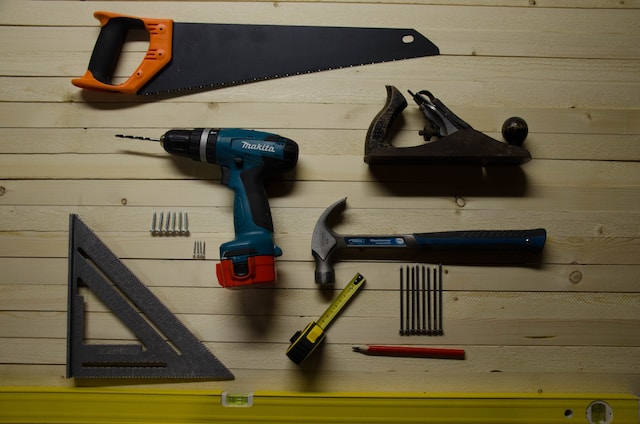
Materials You'll Need:
- Hard wood (choose a hard wood species suitable for outdoor stairs) or composite wood planks that look good and match your spa color
- Screws
- Screwdriver or drill
- Measuring tape
- Saw
- Sandpaper
- Paint or stain (optional)
Instructions:
- Measure and Plan: Determine the desired height of your spa step. Measure the height from the ground to the rim of your hot tub. This will help you determine the height you’ll need for each step.
- Cut the Wood: Using a saw, cut the wood planks into the required lengths for the steps. Each step should be slightly deeper to provide ample space for stepping. In addition, you should cut wood support blocks to secure the planks.
- Create the Frame: For each step, attach two longer planks (side supports) to two shorter planks (front and back supports) to create a rectangular frame. Use screws to secure the pieces together and to the wood support blocks. Make sure the corners are square and the frame is sturdy.
- Attach the Treads: Place the remaining wood planks horizontally across the frame, evenly spaced. These will serve as the steps or treads. Secure them to the frame with screws, ensuring they’re level and well-attached.
- Sand and Smooth: Sand down any rough edges or surfaces to ensure your spa steps are comfortable to step on and handle.
- Paint (For Wood): If you like, you can paint or stain the spa steps to match your outdoor décor or hot tub color. Make sure to choose paint or stain that is suitable for outdoor use to protect the wood from the elements.
- Placement: Position the completed spa steps near your hot tub. Make sure they are stable and level on the ground. Test their stability by gently stepping on them.
- Secure if Needed: Depending on the weight and use, you may want to secure the spa steps to the side of the hot tub and/or ground to prevent any movement. You can use stakes, brackets, or concrete blocks for added stability.
And there you have it – your very own DIY spa steps, tailored to your hot tub and outdoor space.
Conclusion
If this sounds like too much hassle and you want a stylish, economical, and hassle-free solution, do yourself a favor and consider buying a DENKOE hot tub spa step.
But of course, if you’re feeling that DIY itch or you need something bespoke, then building them yourself is the way to go.